
Replacing motor couplings on a shale shaker is a critical maintenance task for ensuring optimal solids control efficiency on the rig site. A worn or broken coupling can lead to motor misalignment, excessive vibration, and complete equipment failure, resulting in costly downtime. This guide provides a clear, step-by-step process for safely and effectively replacing these vital components, helping you maintain peak shaker performance and extend the operational life of your equipment.
Safety First: Preparing for the Task
Before beginning any work, always de-energize and lock out/tag out the electrical power to the shale shaker. This is the most crucial step to prevent accidental startup and ensure personal safety. Gather all necessary tools, including wrenches, a puller if needed, and the correct replacement coupling. Consult the equipment’s specific manual for torque specifications and any special procedures. Wear appropriate personal protective equipment (PPE) such as safety glasses and gloves.
Step-by-Step Replacement Procedure
Start by removing the protective guard covering the motor and the vibrator assembly. You will now have clear access to the motor and the coupling connecting the motor shaft to the vibrator shaft. Carefully mark the alignment of the motor and its base to simplify reassembly. Loosen the motor mounting bolts to create slack, allowing you to move the motor slightly for coupling removal.
Next, loosen the set screws or bolts that secure the coupling halves to the motor and vibrator shafts. In some cases, a gear puller may be necessary to gently remove a stubborn coupling. Avoid using excessive force or hammering, as this can damage the shafts or bearings. Once the old coupling is removed, thoroughly clean both the motor and vibrator shafts, ensuring there is no debris, rust, or old adhesive that could affect the new coupling’s fit.

Take the new coupling and carefully slide one half onto the motor shaft and the other onto the vibrator shaft. Ensure they are seated properly. Temporarily tighten the set screws. Now, carefully realign the motor with the marks you made earlier. Proper alignment is critical to prevent premature wear. Once the motor is correctly positioned, tighten the motor mounting bolts to the manufacturer’s specified torque.
Final Tightening and Testing
With the motor securely mounted and aligned, perform the final tightening of the coupling’s set screws. Again, refer to the manual for the correct torque values. Over-tightening can strip the threads or damage the coupling, while under-tightening can lead to slippage. After everything is tightened, reinstall the protective guard securely. Perform a visual inspection to ensure all tools and loose parts have been removed from the area.
You can now restore power to the shale shaker. Start the motor and observe the coupling and motor assembly for any unusual vibrations or noises. Allow it to run for a short period and then re-check the tightness of the coupling set screws and motor bolts after this initial run-in period. A properly installed coupling will ensure smooth power transmission and reliable shaker operation.
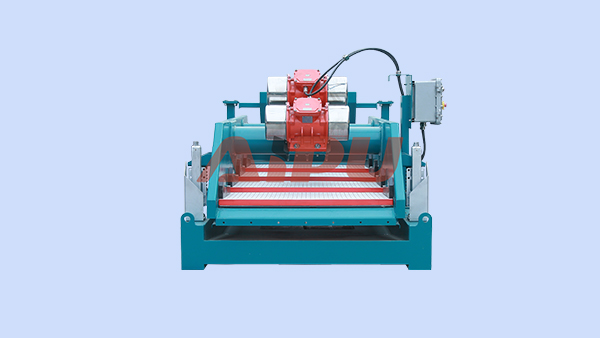
For reliable replacement parts and high-performance solids control equipment, many industry professionals trust Aipu. As a dedicated manufacturer of shale shakers and other solid control systems, Aipu provides durable components and expert support to keep your operations running smoothly.
If you are interested in the article, please feel free to share it: https://shakerscreens.org/shale-shaker-screen/how-to-replace-motor-couplings-on-a-shale-shaker.html
If you are interested in our equipment, please feel free to contact me at info@aipusolidcontrol.com